Here is a quick guide on how to install html5-chat with Drupal8/9
Create a gender user field in configuration / Account Settings

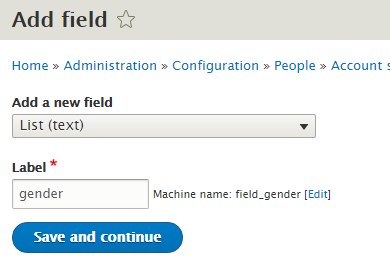
Add a new field
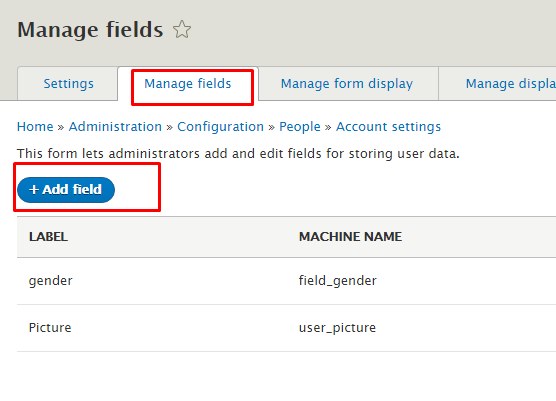
called gender

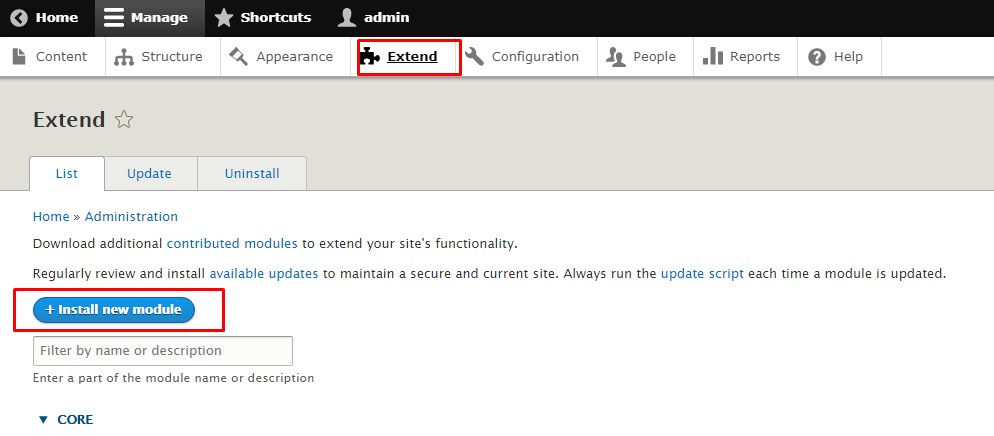
Download and install the plugin for Drupal8/9
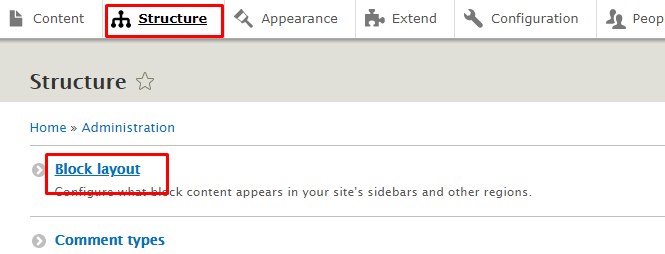
Go to structure – > block layout
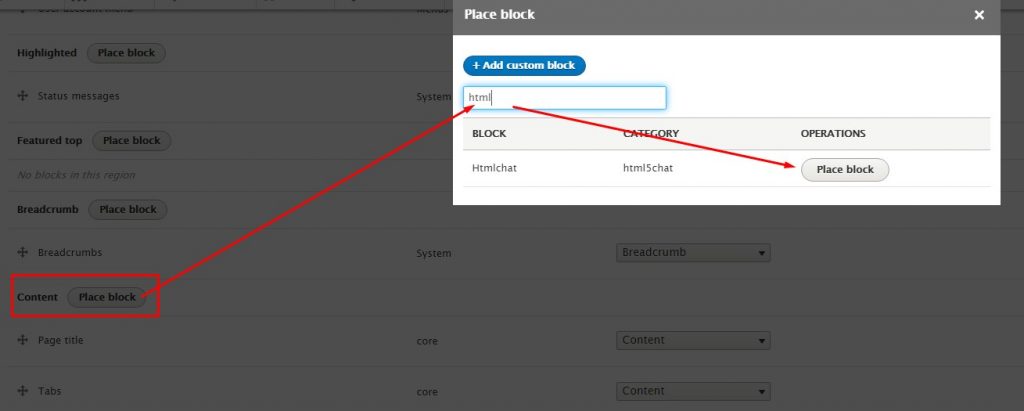
Go to content, click on Place bloc, search for htmlchat and click place block in the modal window
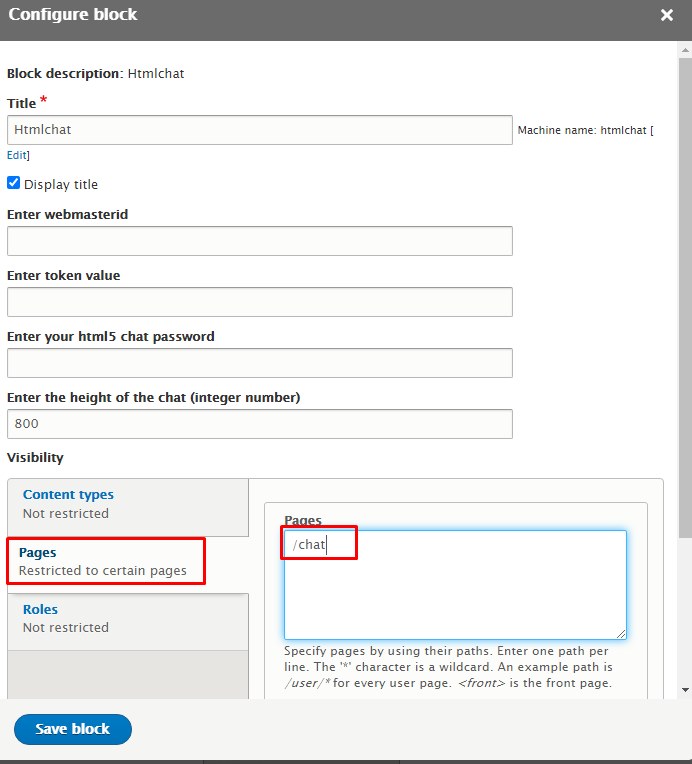
fill the data:
- webmasterid
- token
- password
- height
You will find ALL these data from your chatadmin panel
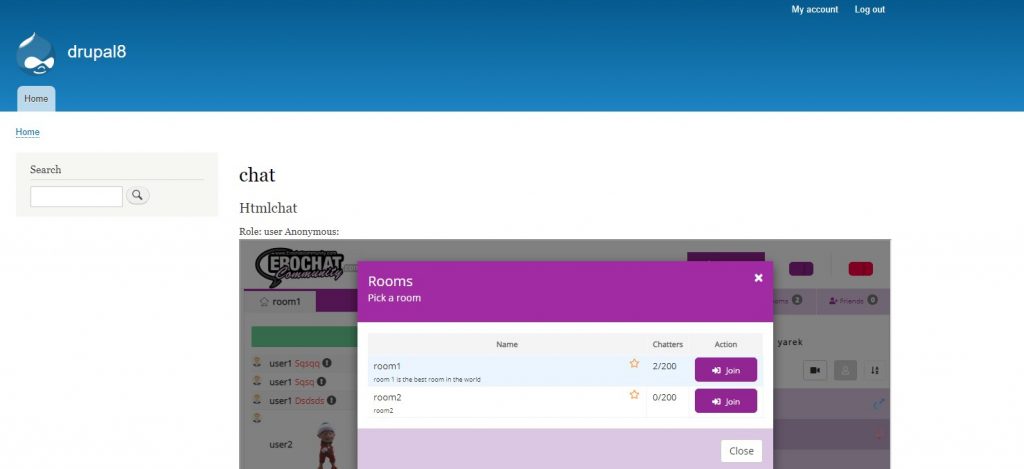
Go to the Pages vertical tab and enter /chat
that means that the page named “chat” will contain your html5-chat
Go to content-> add content

and choose “Basic page”
Enter a title for the basic page and enter /chat in URL ALIAS

And that’s ALL. Save all (clear cache from Configuration->performance) and go to yoursite.com/chat and your html5-chat chat will appear there !